Archiv für das Jahr: 2015

EPLAN Hilfe Online

Hab mir die Beta noch nicht angeschaut, nur mal gestartet. Aber was mich gleich interessierte war das neue Hilfesystem.
Finde es klasse dass EPLAN hier mal, die ohnehin schon gute Hilfe, aktualisiert hat.

Da ist mir aufgefallen dass die Hilfe auch Online verfügbar ist und das (zum Glück) ohne Anmeldung.

Wer die Hilfe mal anschauen möchte, kann das unter eplan.help tun!
Man sollte dazusagen, dass dies noch Beta ist.

Von |2015-04-16T10:10:30+02:002015-04-16|EPLAN|

300. Beitrag

… und ich habs verpennt, sind eigentlich schon 303.
Habe gerade mal nachgeschaut wann das ganze Online ging… das war am 11.02.2010, in Worten: Über-Fünf-Jahre!

Bin selbst stolz, solange durchgehalten zu haben :^)

Generell würde ich gerne mehr schreiben, aber es fehlt wie immer die Zeit.
Zusätzlich fehlen mir auch Ideen bezüglich EPLAN-Scripting, also wenn Ihr Ideen / Fragen / Anregungen habt, einfach schreiben.

Na dann auf die nächsten 100…!

Von |2015-04-15T07:57:40+02:002015-04-15|Allgemein|

Automatischer Action-Name ApiAddin

Da ich derzeit viel mit der EPLAN-API machen darf, hab ich mir mal Gedanken gemacht wie man das ewige Action deklarieren automatisieren kann.

Die Deklaration funktioniert ein bisschen anders als im Scripting und somit kann man auch auf die Methoden- / bzw. Klassennamen zugreifen.

Mit dieser Lösung wird immer der Klassenname als Action-Name verwendet, was für mich immer zutreffend ist.
In diesem Beispiel wäre der Action-Name MyAction:

using Eplan.EplApi.ApplicationFramework;
using System;
using System.Reflection;

namespace Suplanus.EplAddin.Examples
{
    class MyAction : IEplAction
    {
        public bool OnRegister(ref string Name, ref int Ordinal)
        {
            Name = MethodBase.GetCurrentMethod().DeclaringType.Name; // Get name from class
            Ordinal = 20;
            return true;
        }

        public bool Execute(ActionCallingContext oActionCallingContext)
        {
            throw new NotImplementedException();
        }

        public void GetActionProperties(ref ActionProperties actionProperties)
        {
            throw new NotImplementedException();
        }
    }
}
Von |2017-11-09T11:24:17+01:002015-04-14|EPLAN, EPLAN-API|

ExternalTestAssembly

Daniel Papp ist immer fleißig, vielen Dank nochmal an dieser Stelle.

Aufgrund der Implementierung von CAE-Consulting ist nun bekannt wie man DLLs im Scripting nutzen kann. Somit kann man auch Excel oder SQL bedienen… eigentlich Alles außer der immer noch kostenpflichtigen EPLAN API…

Vielen Dank für das Beispiel! Wie gewohnt findet man die Daten auf Daniels GitHub Repo.

using System;
using System.Reflection;
using System.Windows.Forms;

namespace ExternalTestAssembly
{
    public class Script
    {
        [Start]
        public void Run()
        {
            //AbsoluteAssemblyPath: for example "C:\Users\Public\EPLAN\Data\Binaries\MyWPFControlLibrary.dll
            Assembly myAssembly = Assembly.LoadFrom(@"AbsoluteAssemblyPath");

            //Namespace.ClassName: absolute name of the class to instaciate 
            //"InstAttibute": if the constructor of the class needs some attributes
            Object objectOfTestClass = myAssembly.CreateInstance("Namespace.ClassName", false, BindingFlags.ExactBinding, null, new Object[] {"InstAttibute"}, null, null);

            //Namespace.ClassName: again the class name to get the methode to execute
            //MethodName: Name of the method to execute
            MethodInfo show = myAssembly.GetType("Namespace.ClassName").GetMethod("MethodName");

            //result: remove if methode has no return type (void)
            //"MethodAttribute": attributes for the methode (could also be empty)
            Boolean result = (Boolean)show.Invoke(objectOfTestClass, new Object[]{ "MethodAttribute" });

            //go on with simple scriptcode
            if (result == true)
            {
                MessageBox.Show("Welcome to wonderland!");
            }
            else
            {
                MessageBox.Show("So you're not the chosen one!");
            }
            
        }
    }
}


Von |2017-11-09T12:23:40+01:002015-03-26|EPLAN, EPLAN-Scripts|

KinderChocolateBot

Zu Weihnachten habe ich mir bisl Zeit genommen und wollte etwas mit Servo und NETMF machen. Brauche immer ein Projekt welches auch Sinn macht… Naja ob das Resultat sinnig ist, darf jeder selber Entscheiden.

Eigentlich sollte ich das Projekt unter Homeautomation einstellen, da es mir jeden Tag Zeit spart. Denn wir lieben Kinderschokolade :^)

Bevor ich aber jedes Mal alles rauskrame, dachte ich mir wäre doch ein Roboter, welcher mir die Arbeit abnimmt, sinnvoll.

Lego

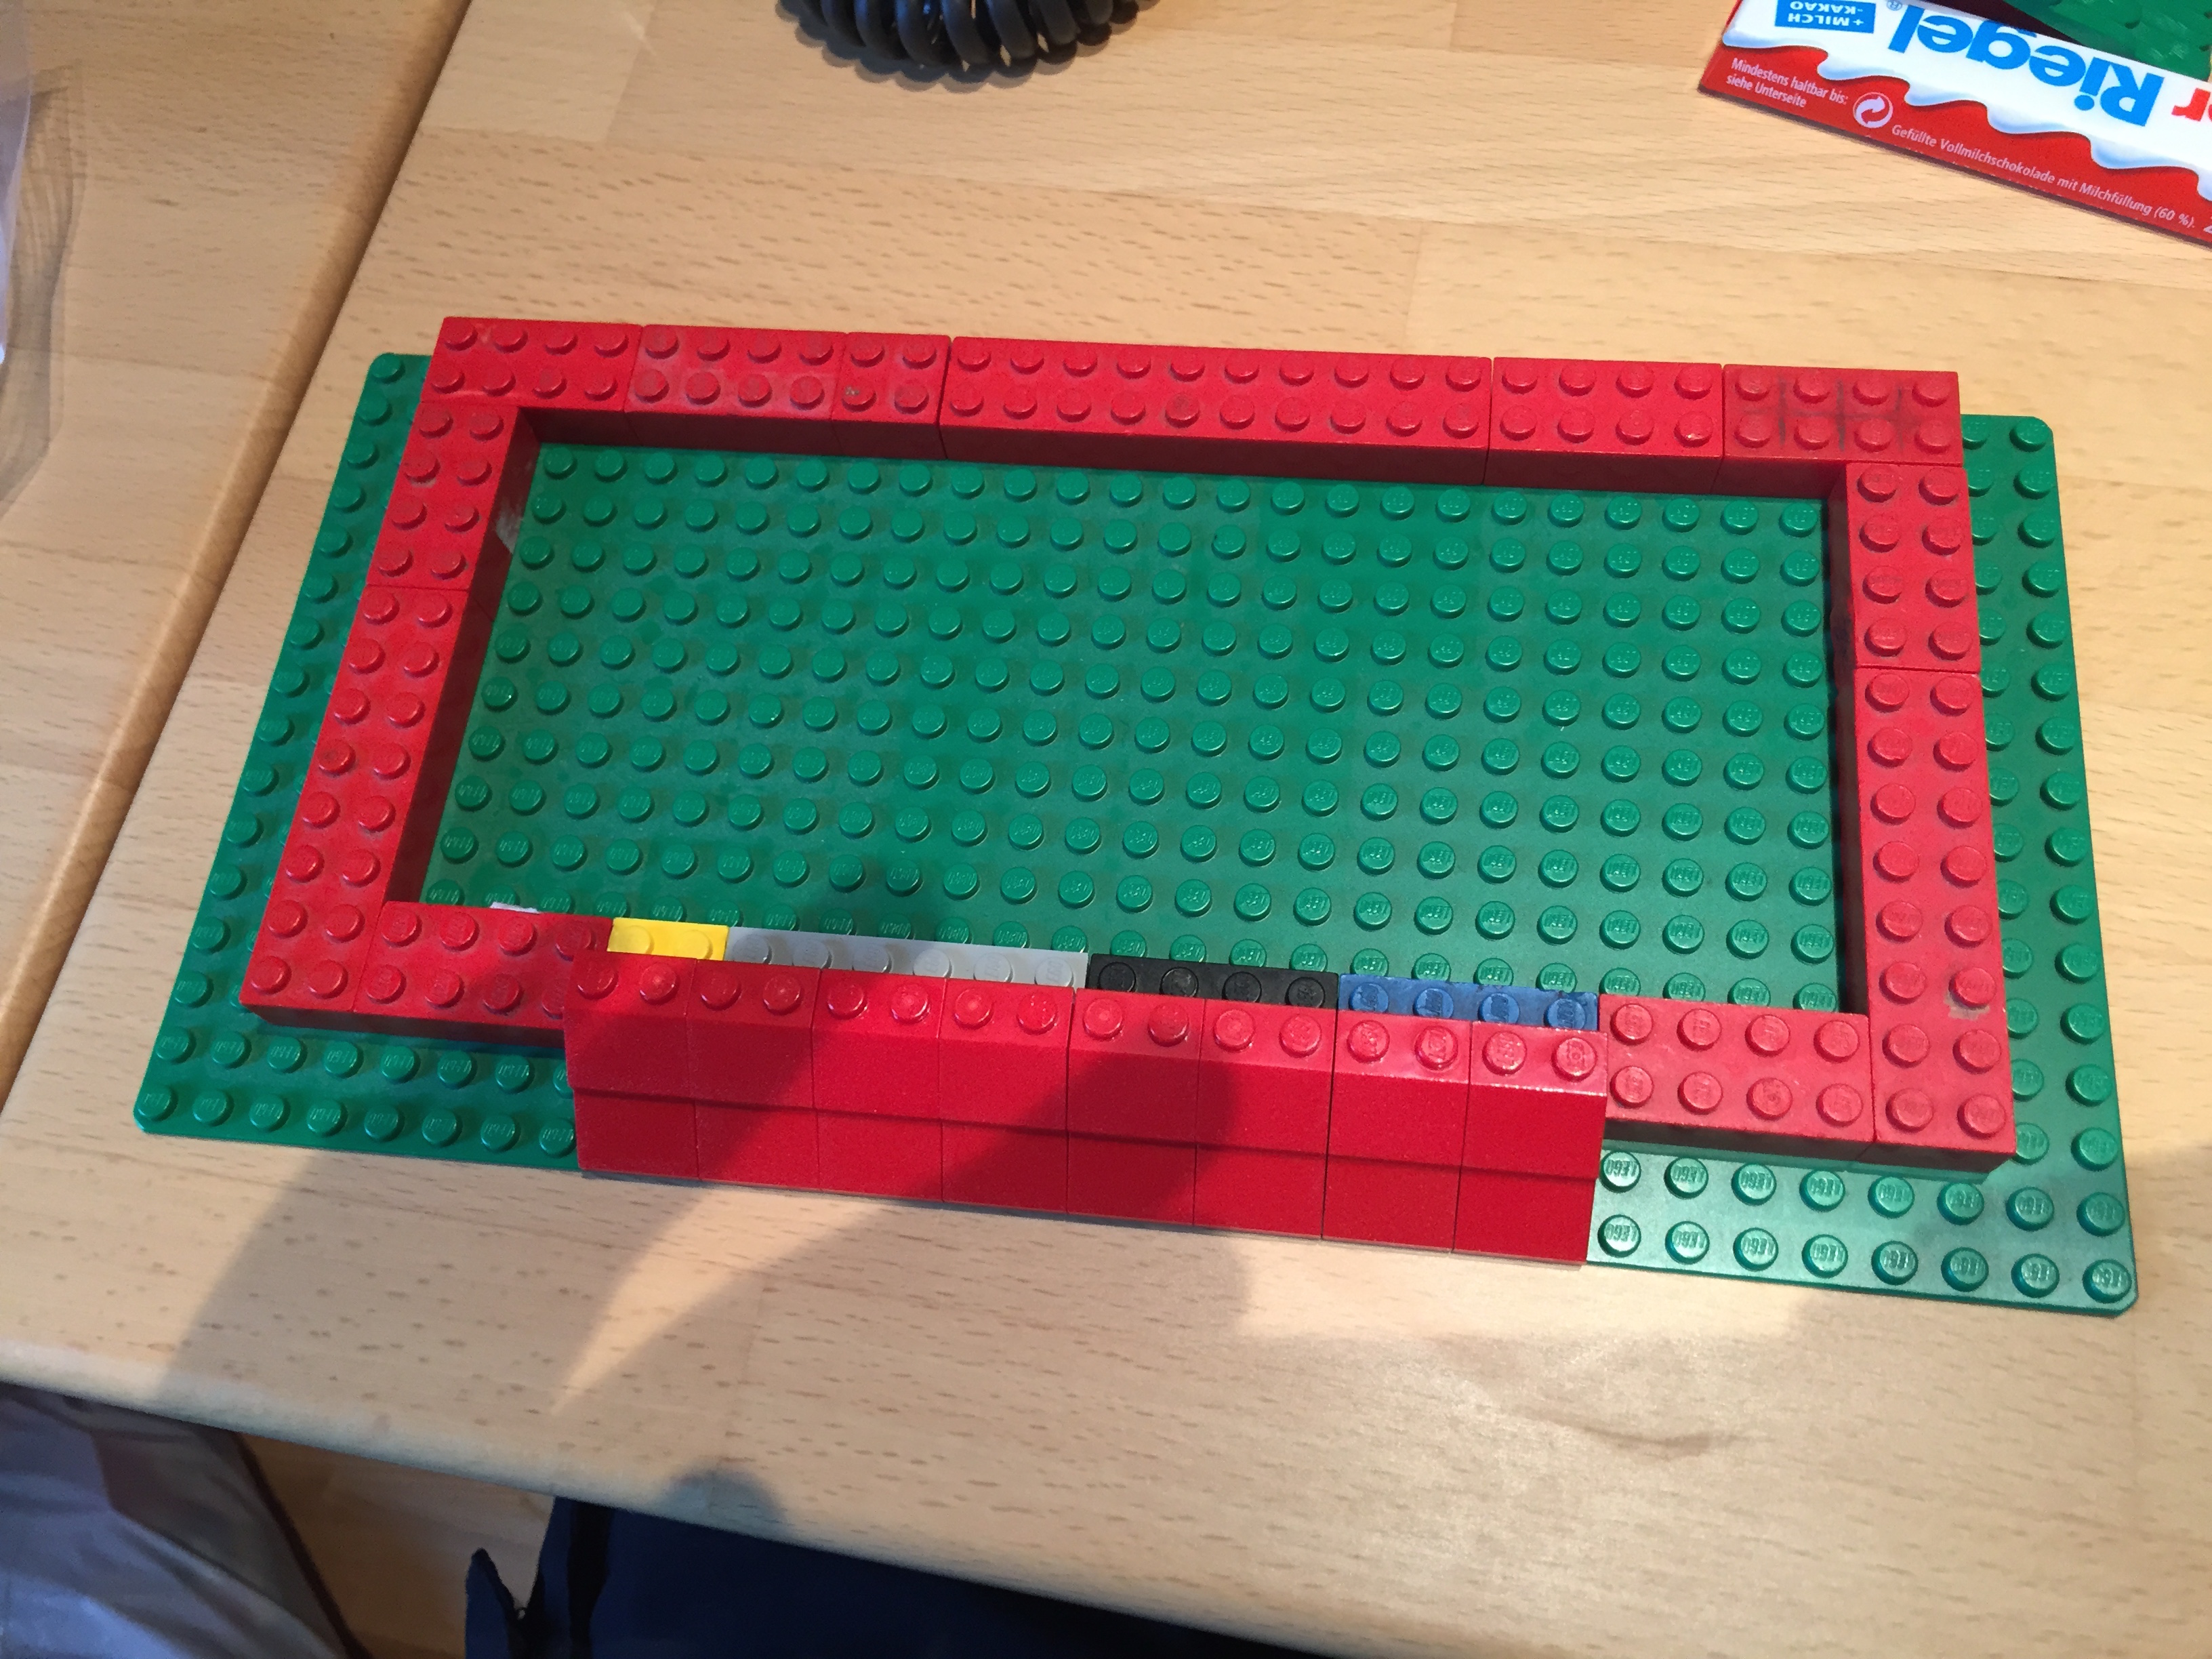
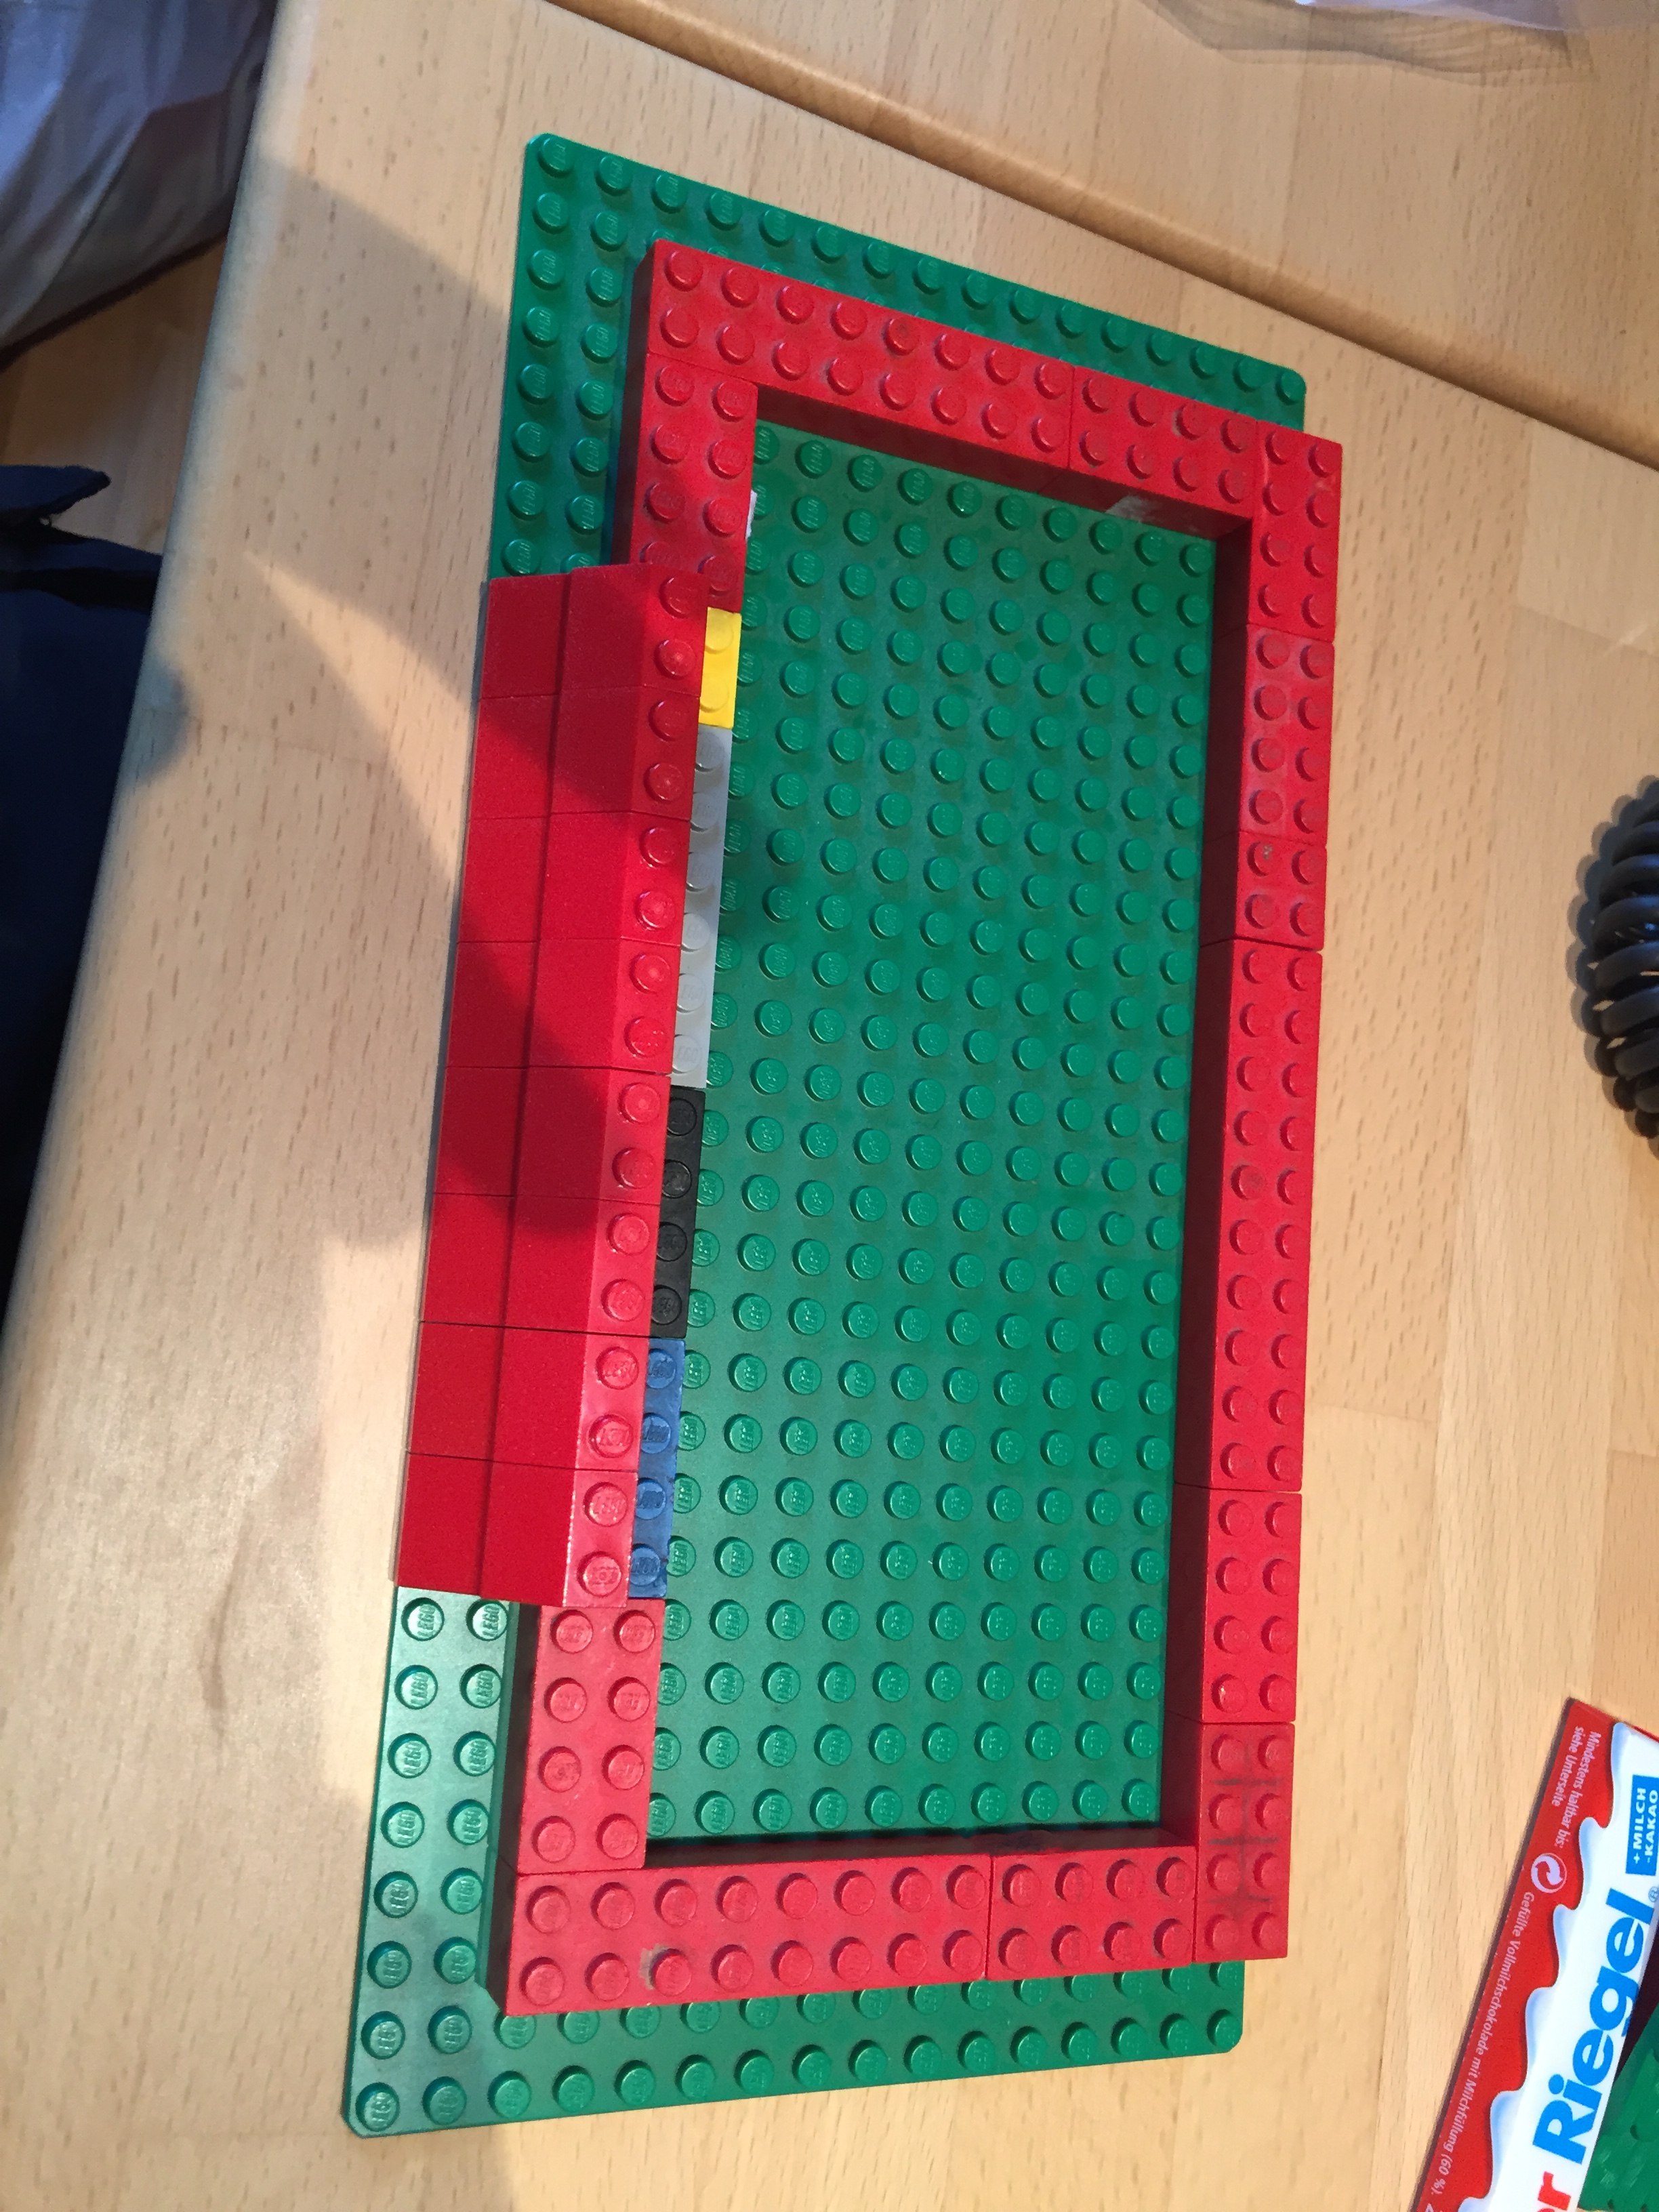
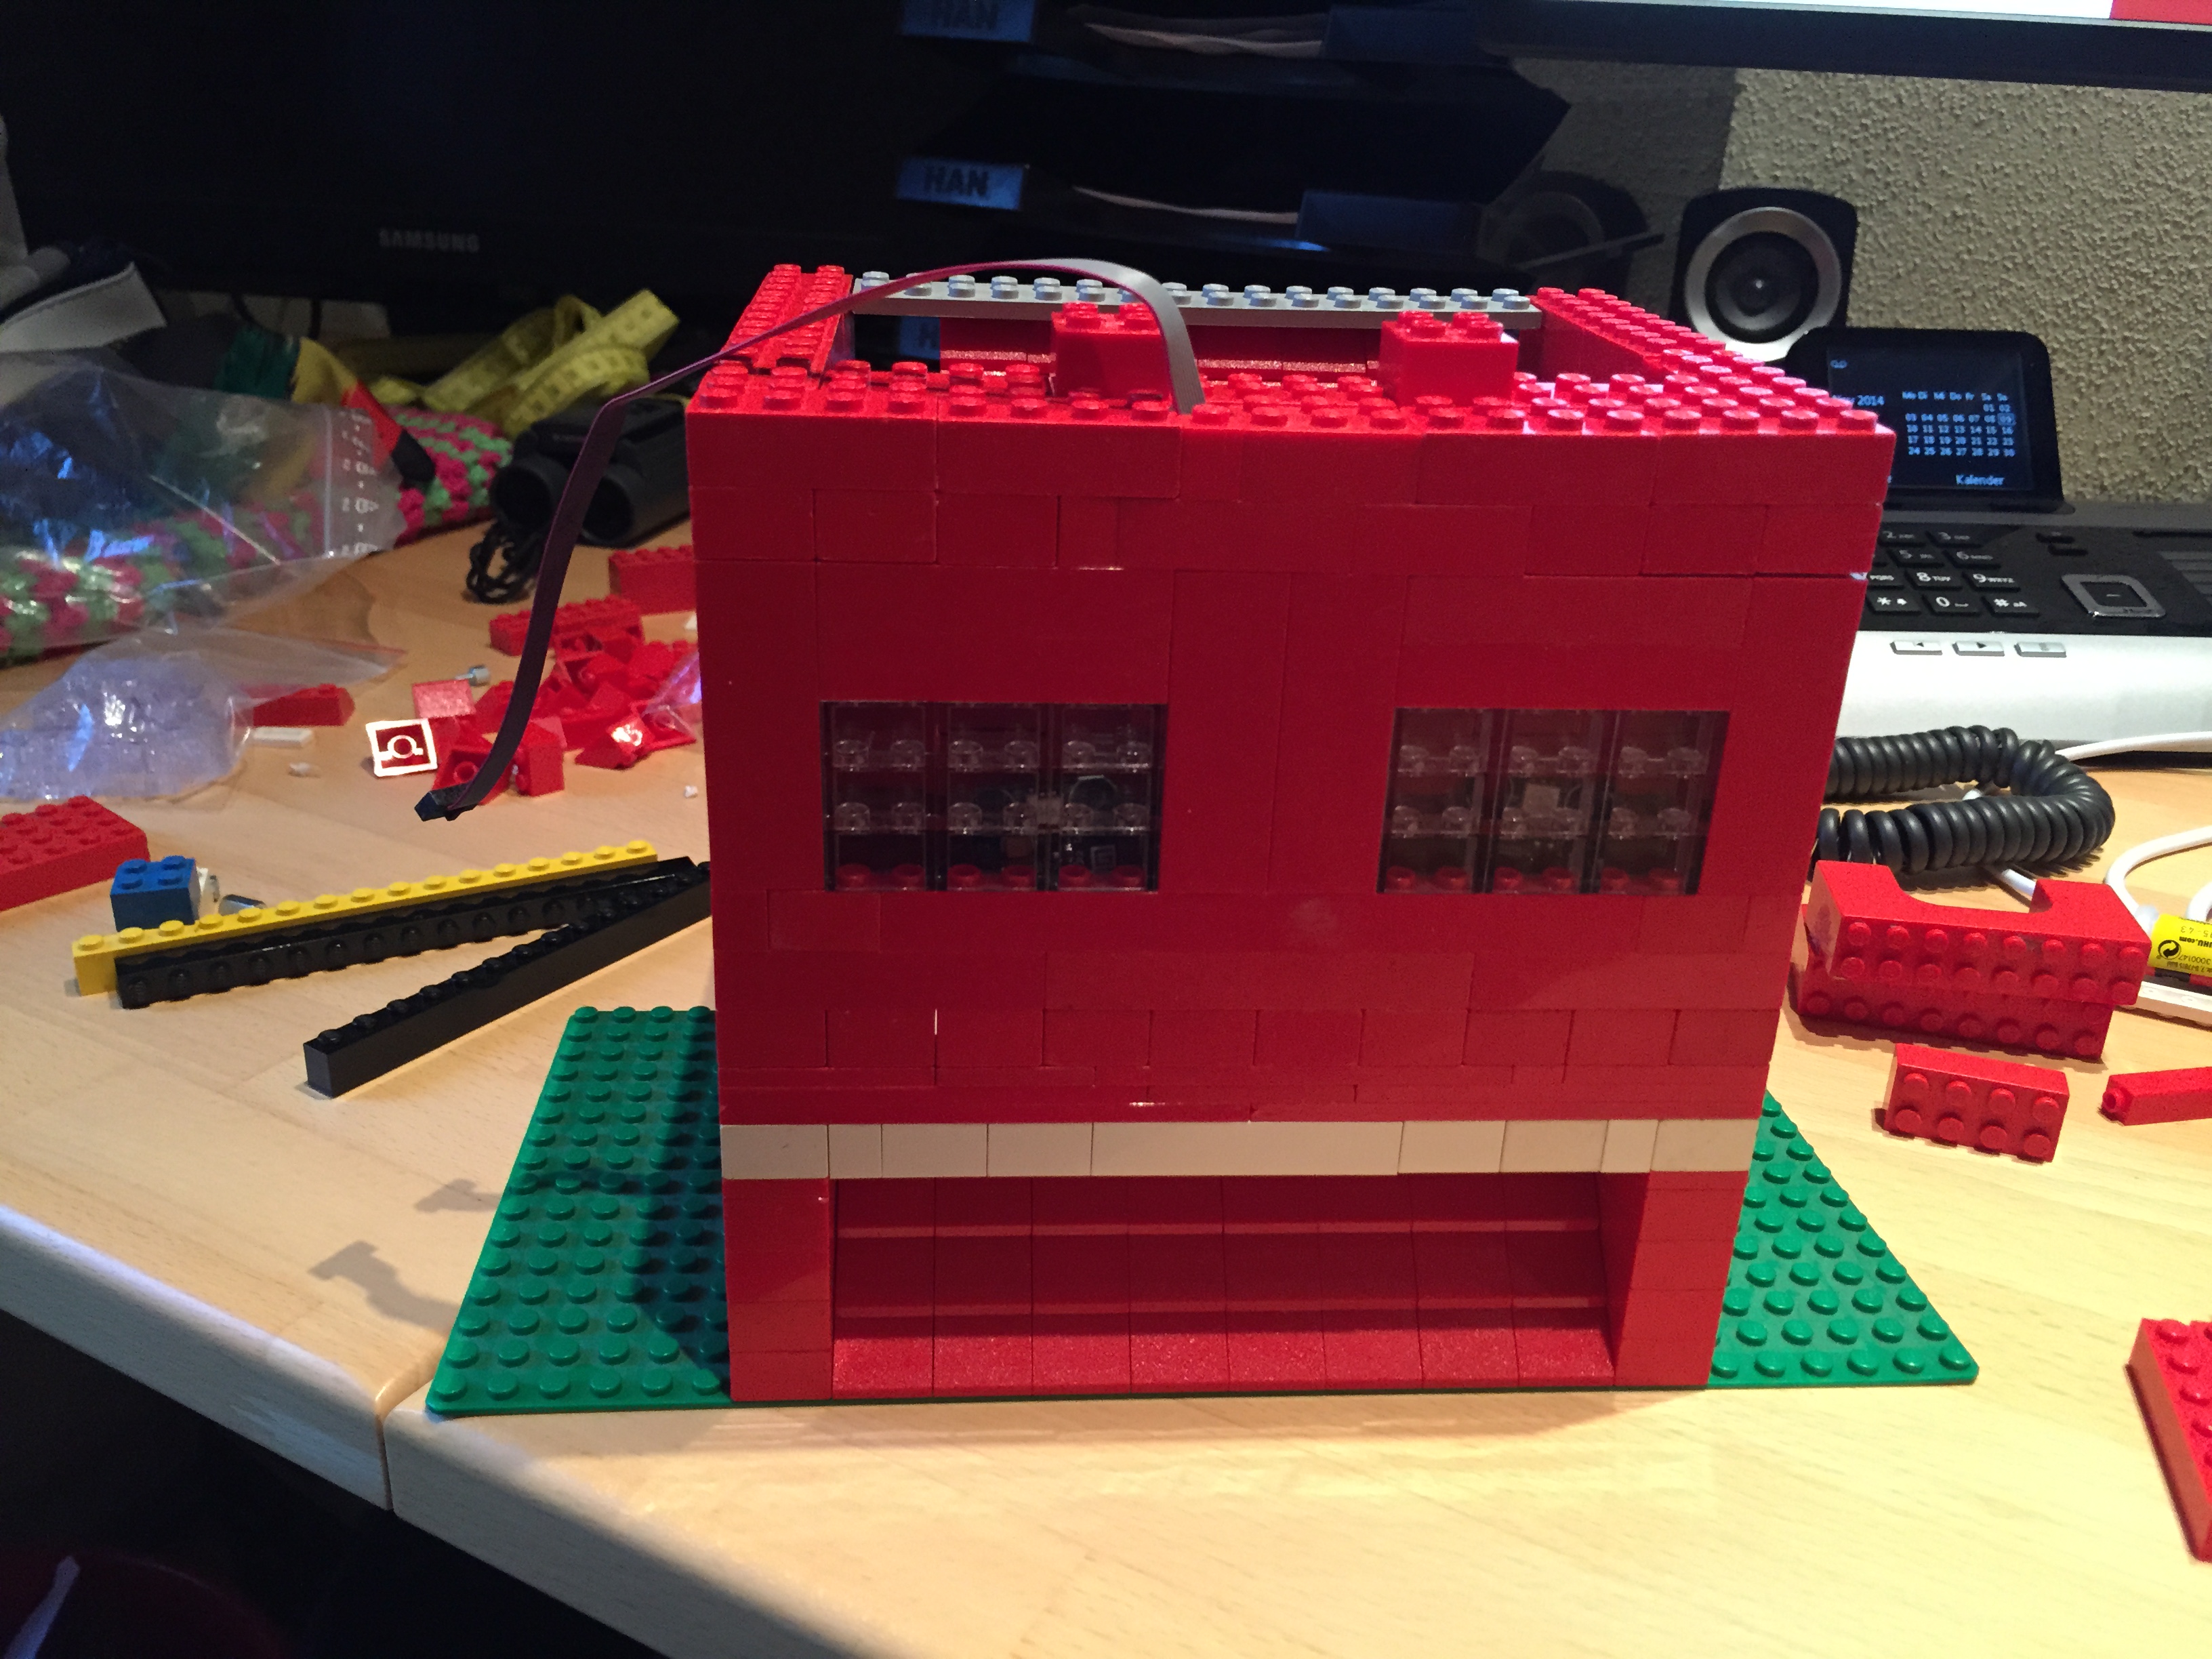
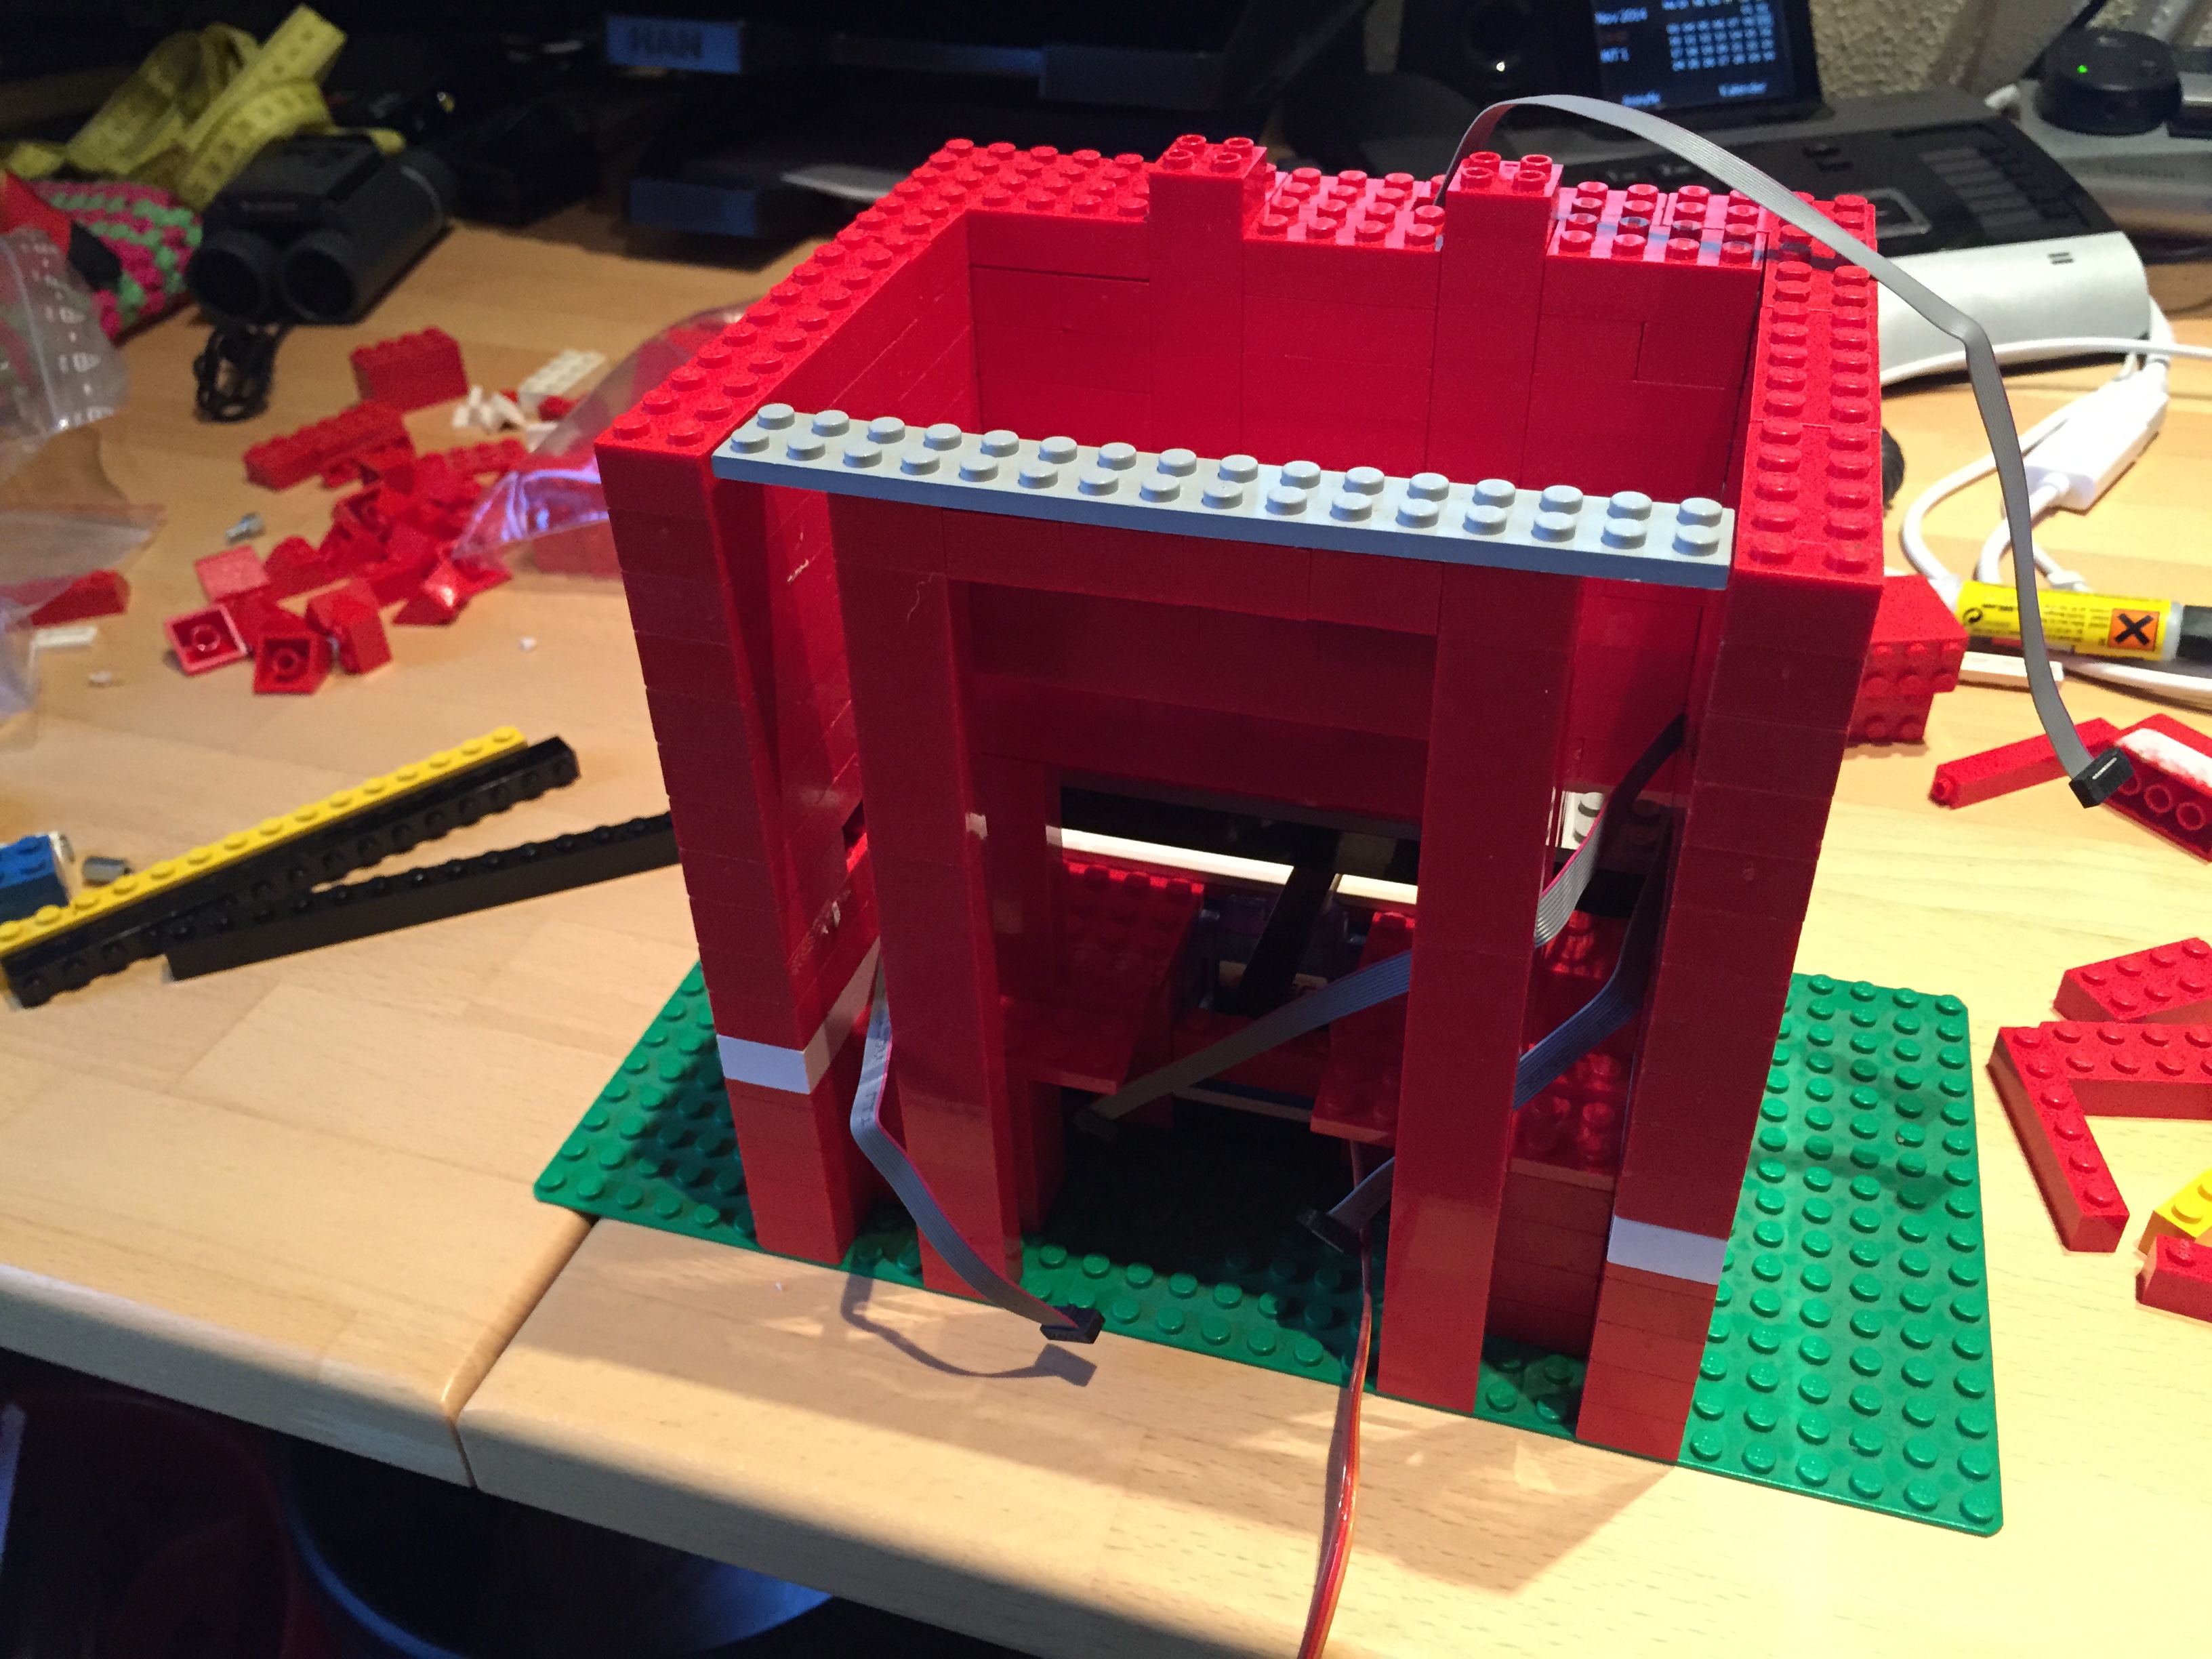
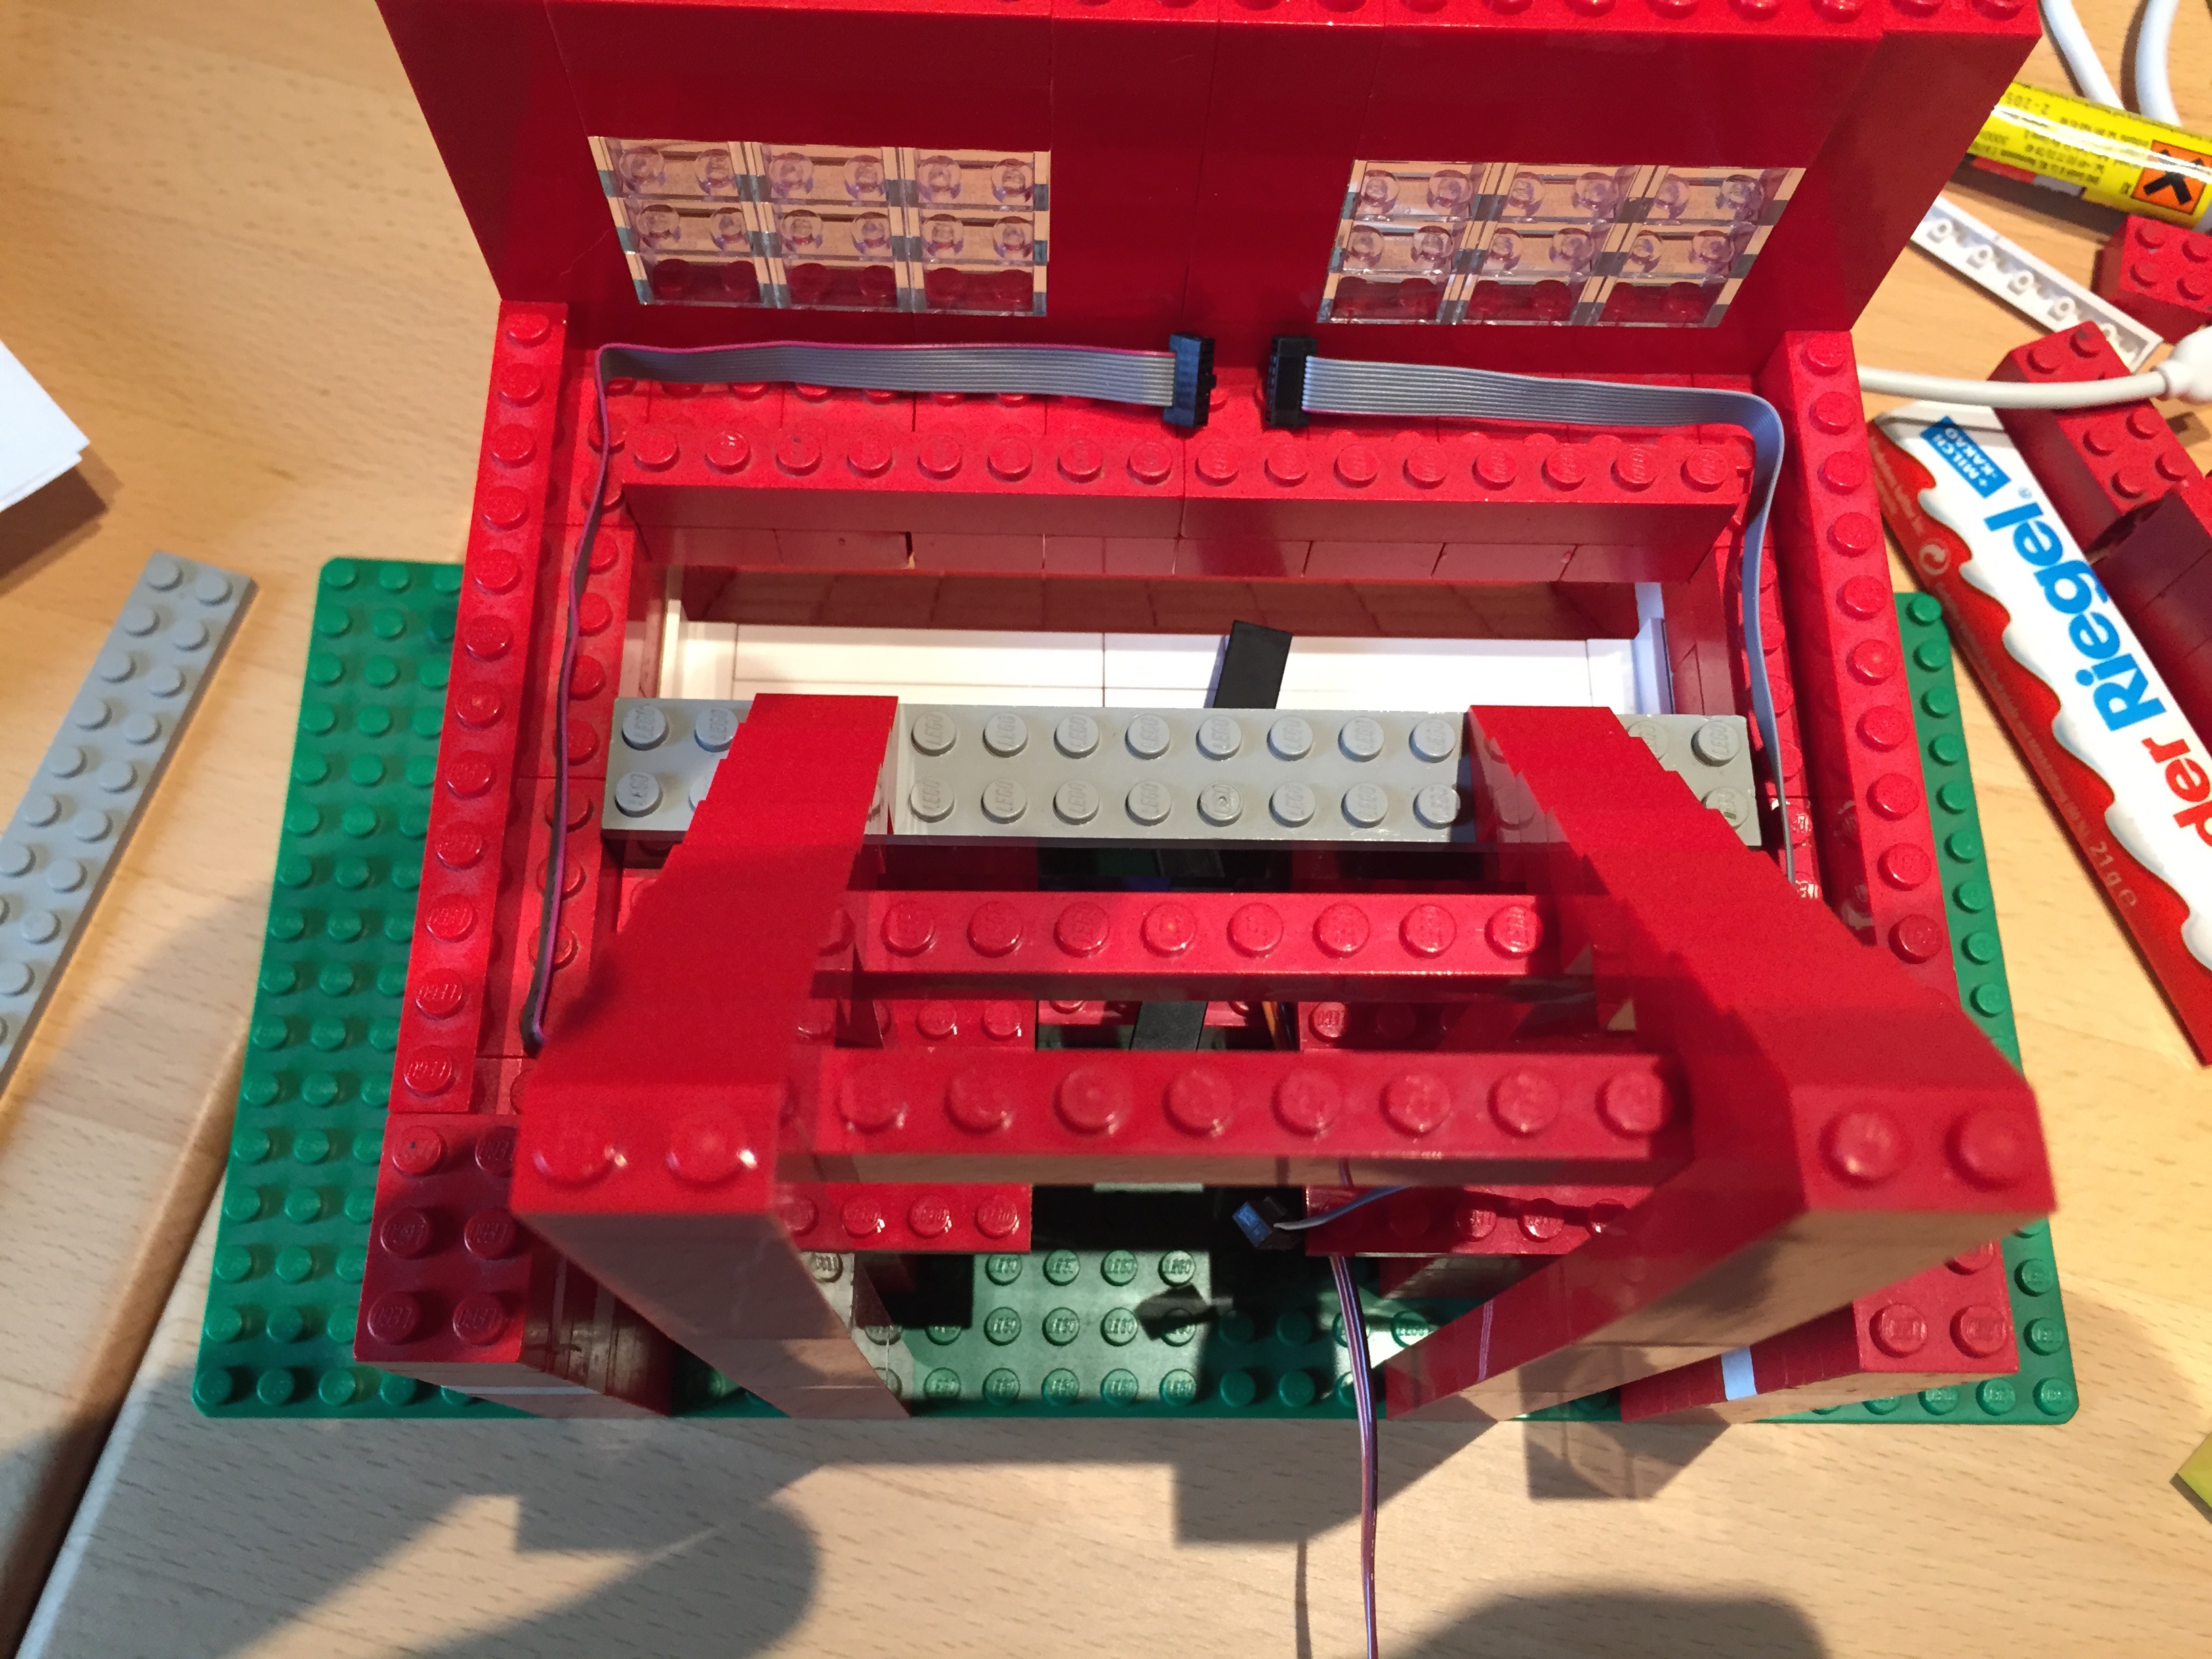
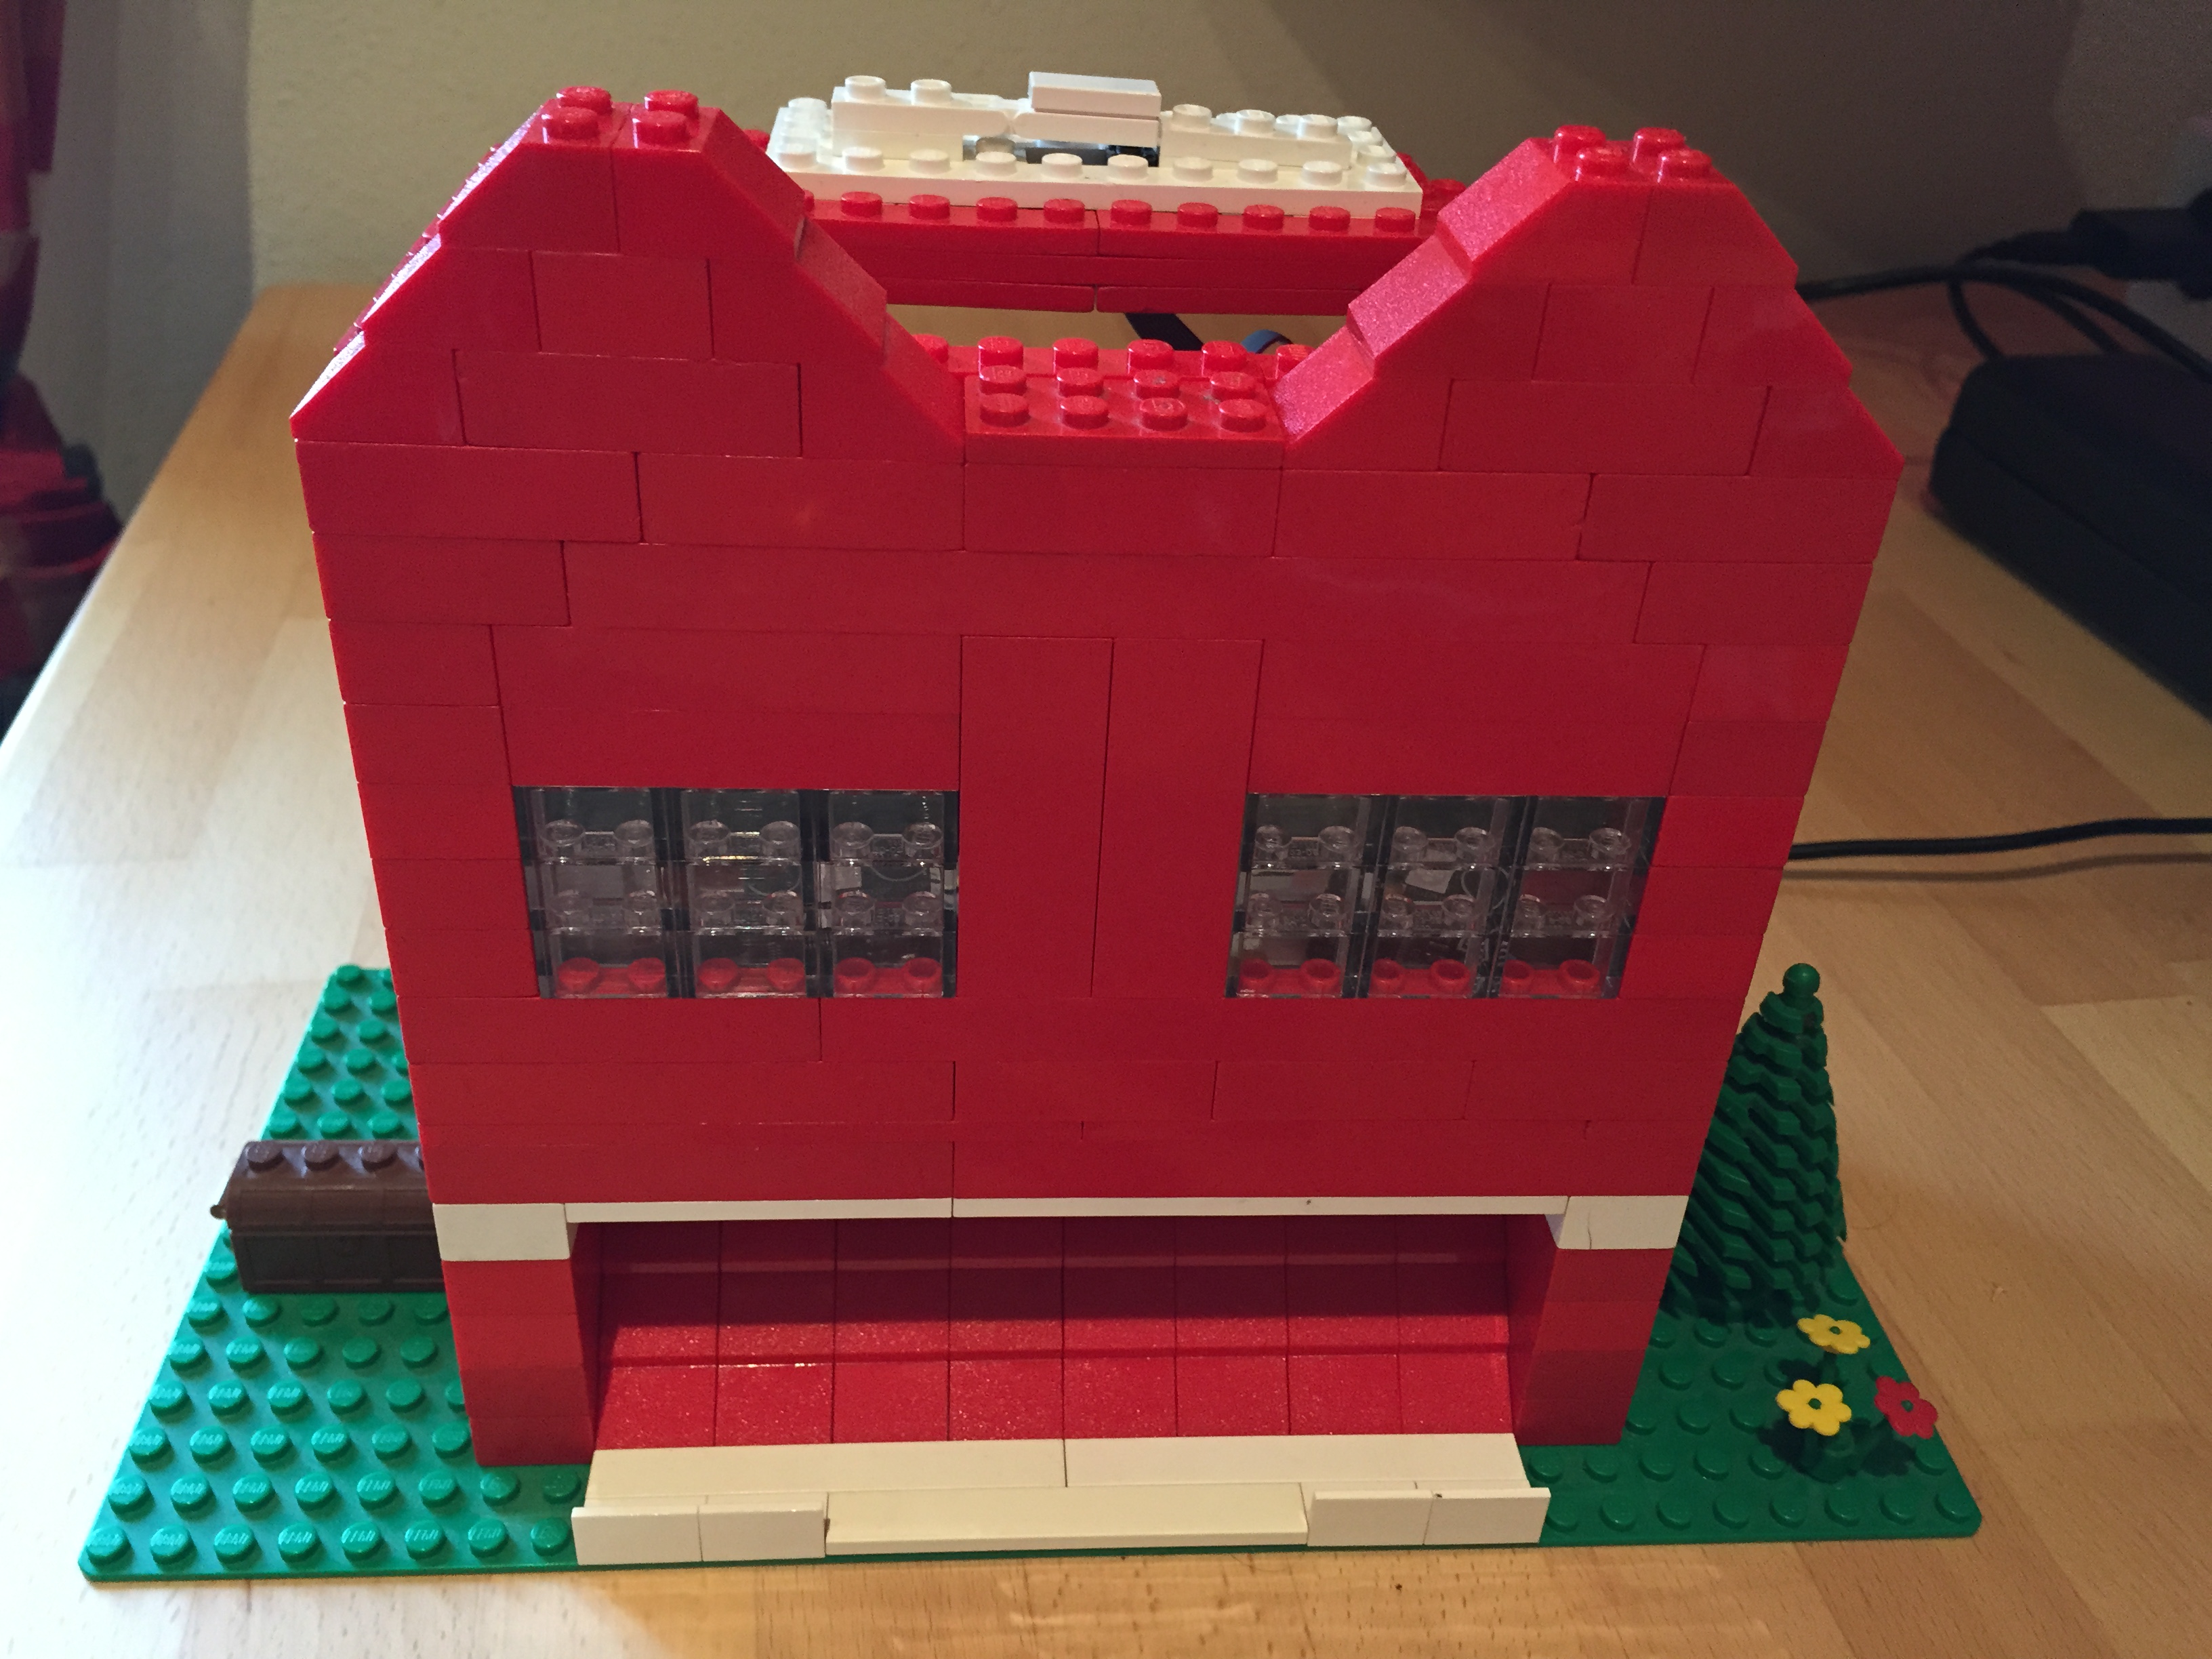
Gesagt getan, endlich wieder mit Legos etwas bauen, passt irgendwie zu Weihnachten.

Bau 1 Bau 2

Bau Vorne Bau Hinten

Bau 3 Schalter


Rückansicht Seitlich Links

Seitlich Rechts Vorne

Folgende Komponenten wurden verbaut:

Gesamtkosten ca. 56€ was nicht gerade billig ist. Achja, Lego hatte ich schon, sonst wären es wahrscheinlich locker über 100€.

Das programmieren des Servos ist nicht ganz so einfach mit NETMF aufgrund fehlender Libraries für die Taktzeiten… hab mir bisl was zusammengesucht, denke aber ist nicht das beste Setup, da hier viel manuell gerechnet wurde (Clocktime). Da ist wohl ein nicht NETMF Controller besser.

Aber es funktioniert wie es sollte und schaut auch gut aus :^)

using Gadgeteer;
using Servo_API;
using Button = Gadgeteer.Modules.GHIElectronics.Button;

namespace Program
{
    public partial class Program
    {
        Servo servo; 
        private bool IsRunning;

        void ProgramStarted()
        {
            Debug("Set it UUUUP!");

            // Setup
            Mainboard.SetDebugLED(true);
            button.ButtonPressed += ButtonOnButtonPressed;
        }

        private void ButtonOnButtonPressed(Button sender, Button.ButtonState state)
        {
            if (!IsRunning)
            {
                Debug("Chocolate!");
                
                ledLeft.FadeOnce(Color.Red);
                ledRight.FadeOnce(Color.Red);

                IsRunning = true;

                servo = new Servo(extender);
                servo.Degree = -180;
                servo.Dispose();

                IsRunning = false;

                Debug("Bedtime!");                
            }
        }

        void Debug(string text)
        {
            Microsoft.SPOT.Debug.Print("==> " + text);
        }
    }
}
// Orginal http://stackoverflow.com/questions/22699174/netduino-class-servo-4-3-1

using Gadgeteer;
using Gadgeteer.Modules;
using Microsoft.SPOT.Hardware;
using System;
using System.Threading;

namespace Servo_API
{
    public class Servo : IDisposable
    {
        /// <summary>
        /// PWM handle
        /// </summary>
        private PWM servo;

        /// <summary>
        /// Timings range
        /// </summary>
        private int[] range = new int[2];

        /// <summary>
        /// Set servo inversion
        /// </summary>
        public bool inverted = false;

        /// <summary>
        /// Create the PWM Channel, set it low and configure timings
        /// </summary>
        public Servo(Module module)
        {
            // Init the PWM pin
            // servo = new PWM((Cpu.PWMChannel)channelPin, 20000, 1500, PWM.ScaleFactor.Microseconds, false);
            Socket SocketExtender = Socket.GetSocket(4, true, module, "socketExtender");
            servo = new PWM(SocketExtender.PWM9, 20000, 1500, PWM.ScaleFactor.Microseconds, false);
            servo.Period = 20000;

            // Typical settings
            range[0] = 900;
            range[1] = 2100;
        }

        public void Dispose()
        {
            disengage();
            servo.Dispose();
        }

        /// <summary>
        /// Allow the user to set cutom timings
        /// </summary>
        /// <param name="fullLeft"></param>
        /// <param name="fullRight"></param>
        public void setRange(int fullLeft, int fullRight)
        {
            range[1] = fullLeft;
            range[0] = fullRight;
        }

        /// <summary>
        /// Disengage the servo. 
        /// The servo motor will stop trying to maintain an angle
        /// </summary>
        public void disengage()
        {
            // See what the Netduino team say about this... 
            servo.DutyCycle = 0; //SetDutyCycle(0);
        }

        /// <summary>
        /// Set the servo degree
        /// </summary>
        public double Degree
        {
            set
            {
                // Range checksJa
                if (value > 180)
                    value = 180;

                if (value < 0)
                    value = 0;

                // Are we inverted?
                if (inverted)
                    value = 180 - value;

                // Set the pulse
                //servo.SetPulse(20000, (uint)map((long)value, 0, 180, range[0], range[1]));
                servo.Duration = (uint)map((long)value, 0, 180, range[0], range[1]);
                servo.Start();
                Thread.Sleep(360);
            }
        }


        private long map(long x, long in_min, long in_max, long out_min, long out_max)
        {
            return (x - in_min) * (out_max - out_min) / (in_max - in_min) + out_min;
        }
    }
}
Von |2018-05-14T15:23:21+02:002015-03-10|Gadgeteer, NETMF, Projekte|
Nach oben